
July 22, 2026
Prep DTF Files for Cut-to-Size Gang Sheets
Edited on this dummy store
Most reprint headaches start in the file, not on the press. Soft anti-aliased fringes, a white box behind the logo, or art scaled up from a phone screenshot will show up on the shirt — and on your timeline.
This is how we expect artwork for cut-to-size DTF transfers (shops also call them DTF prints): colour space, resolution, edges, and nesting so the film that leaves our shop is worth pressing.

Build in RGB, export PNG
Work and export in RGB. That matches how most DTF art is built on screen and keeps brand colours closer to what you approved on the monitor. Last-minute CMYK conversions often shift reds and blues before the printer ever sees the file.
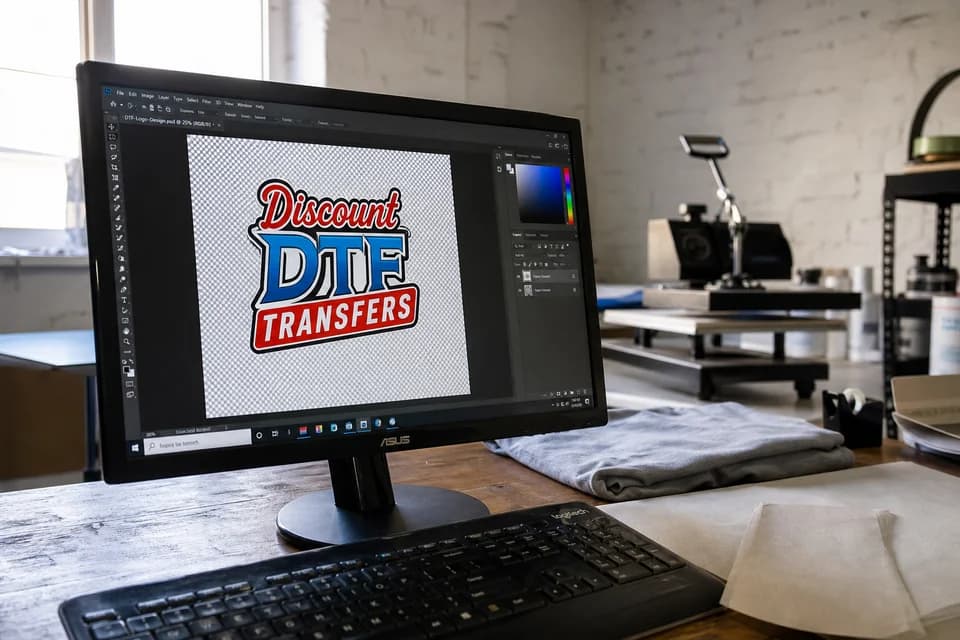
Save a PNG with a real transparent background — checkerboard in your editor, not a white fill. White behind the art prints as a block; it does not disappear on the garment.
Push DPI at the real print size
Target 300 DPI at final press size, 1:1. Build the left chest at four inches if it will press at four inches. Do not design a one-inch logo at 72 DPI and stretch it on the gang sheet — you are enlarging pixels, not inventing detail.
If the file is soft at 100% zoom on a desktop, fix the art or redraw. Scaling will not rescue it on film.
Antialiasing and dirty edges
Soft anti-aliased cutouts look smooth on a Retina display and often print as a grey halo or fuzzy rim on DTF. Auto-traced logos are worse: matte fringes and broken corners that no press setting can hide.
- Clean the silhouette — hard(er) edges where the brand mark should be crisp
- Keep soft fades only when they are intentional design, not leftover from a bad knock-out
- Thicken hairline script and ultra-thin outlines before nesting; they drop out on film

What to send (checklist)
- PNG + transparency
- RGB workflow
- 300 DPI at final size, 1:1
- Clean edges (no accidental anti-alias fringe)
- Final orientation — do not pre-mirror unless we ask
- No JPEG re-saved as PNG with banding still in the pixels
Drop files into the gang sheet builder, nest left chests and backs on one sheet, pay for printed area from about $0.02/in².
Problems we see every week
Low resolution
Phone screenshots and web logos blow up soft. Rebuild at 300 DPI at press size.
White or solid background
Check the checkerboard. A white rectangle is ink and film waste you did not mean to buy.
JPEG artifacts
Changing the extension does not remove compression. Export clean PNG from the source.
Tiny decorative lines
If a stroke is barely visible at 100% zoom, thicken or simplify before the sheet.
Why nesting matters
Cut-to-size means you pay for ink, not empty borders. Mix sizes on one sheet instead of three half-empty orders. Hard goods use UV DTF; apparel stays on regular film.
Deep dive on soft edges and colour space: antialiasing and RGB.
After the sheet arrives
Press settings · Easy peel / apply · Prints vs transfers · Shipping by city
FAQ
RGB or CMYK?
Design and export in RGB for this workflow unless we tell you otherwise for a special job.
Why do my edges look dirty on the shirt?
Usually anti-aliased or auto-traced fringes in the PNG. Clean the silhouette, then re-export at 300 DPI.
Can I mix sizes on one order?
Yes — that is cut-to-size nesting. Pack the sheet, checkout once, press from one shipment.